3.4
3.3
This exercise is designed as an introduction to the Repository classes and entity definitions in OJS/OMP/OPS.
In your OJS install, go to Administration > Site Settings > Site Setup > Languages and add a second language if one doesn’t already exist.
Enable the second language on your Journal.
Click at Settings Wizard:
Click at tab Languages
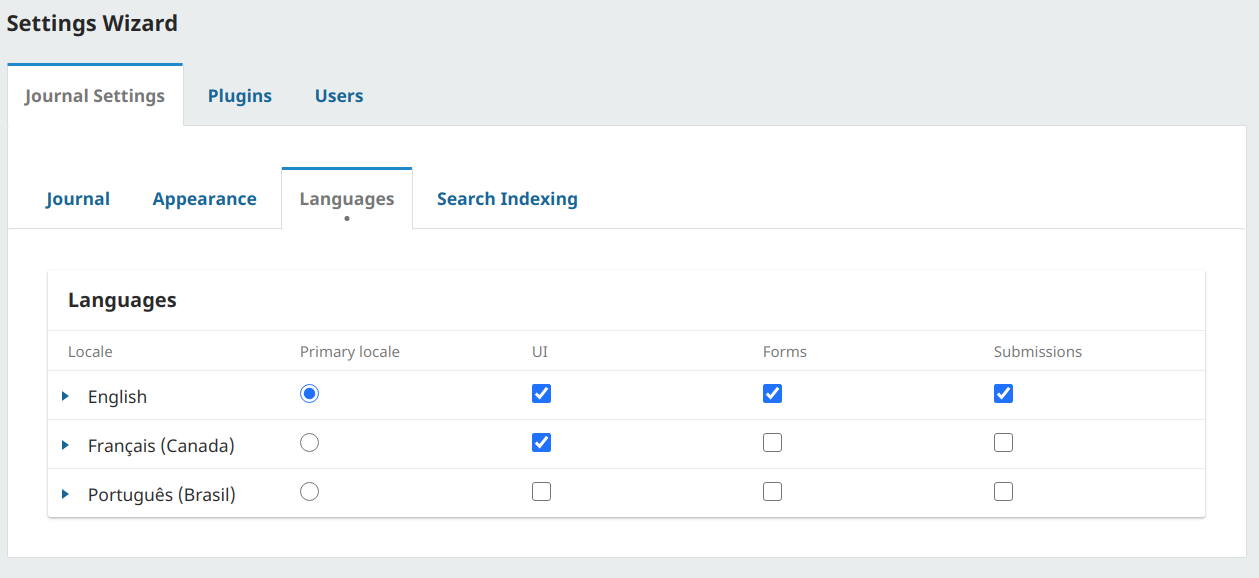
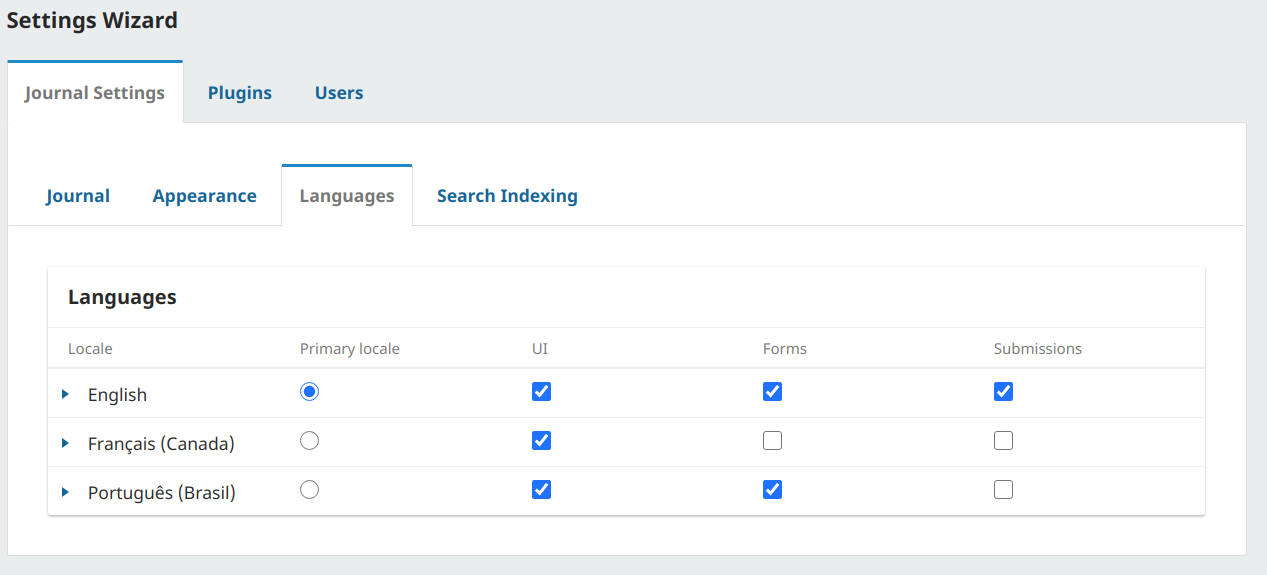
Enable the second language on UI and Forms.
Go to Settings > Website > Setup > Announcements and enable announcements in your OJS instance. Find the Announcements link in the main navigation menu on the left and create 3 or more announcements
Read the Entities, DAOs and Repositories sections of the developer documentation. Explore the code for the announcement’s schema, repository and data object.
Use what you’ve learned to show the announcements for the current journal on the example page you created in Exercise 1.
Do not worry about making this page look nice.
http://localhost:8000/index.php/publicknowledge/example/announcements I can see all of the announcements that I created in this journal.