OJS 3.1 allows you to restrict some or all of your content to subscribers. To enable Subscriptions, first go to Settings > Distribution > Access.
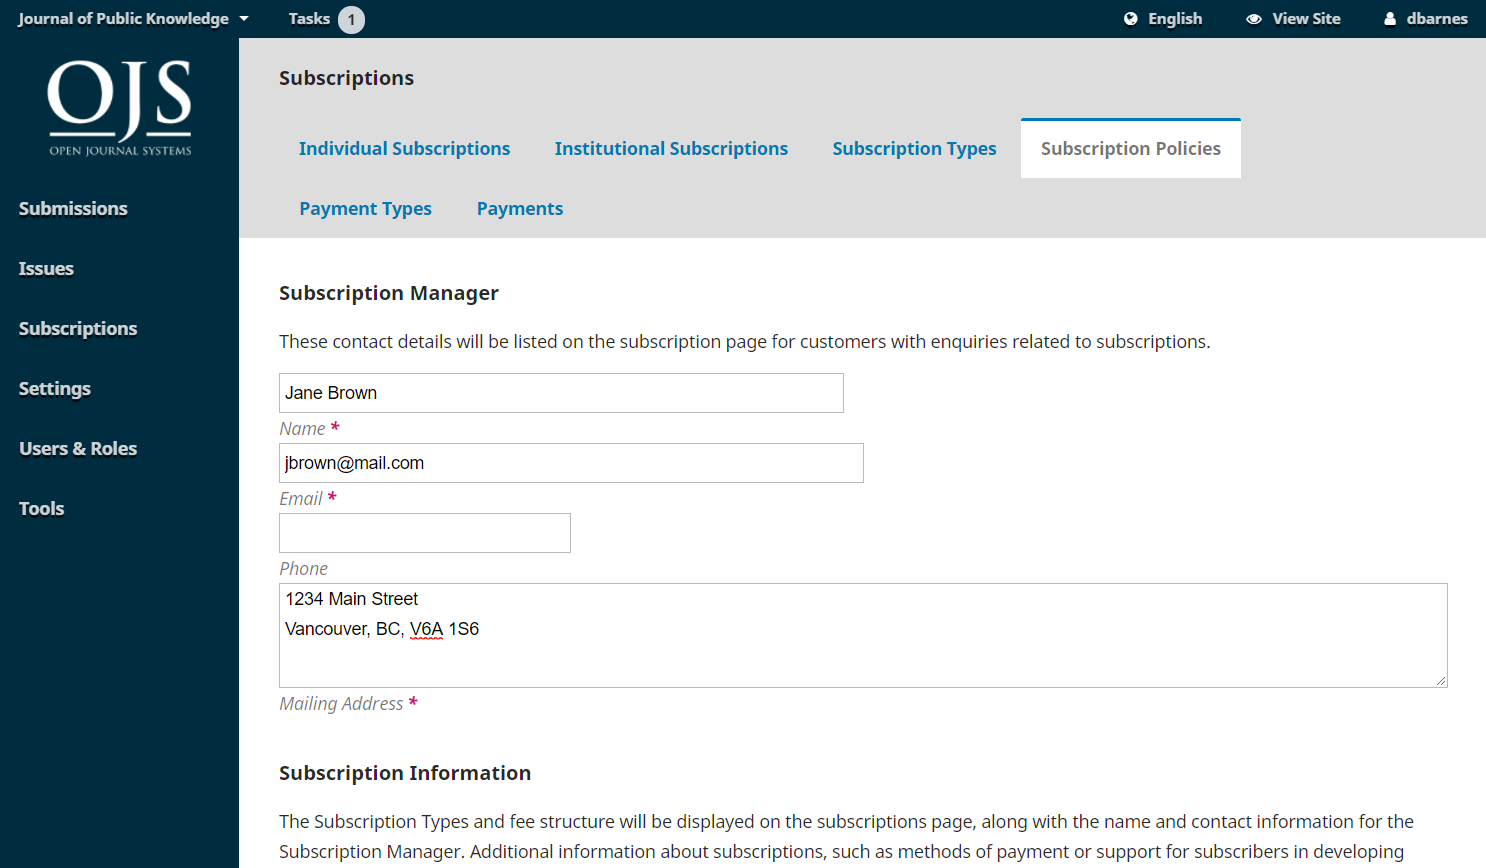
Fill in details about your subscription policies on this page.
The next step in setting up subscription management is to designate the types of subscriptions the journal offers.
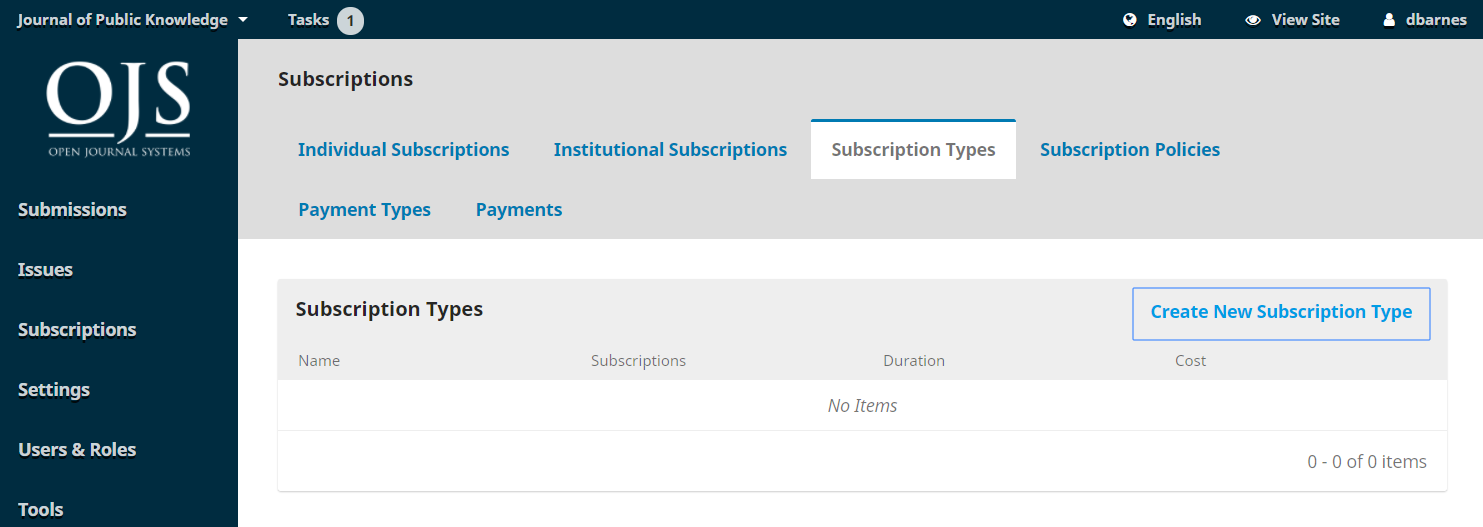
Journals typically offer individual subscription and institutional subscription rates. Some journals may have special offers for members of an organization or students. OJS will support the management of print and/or online subscriptions. More than one type of subscription can be created to cover longer periods of time (12 months, 36 months).
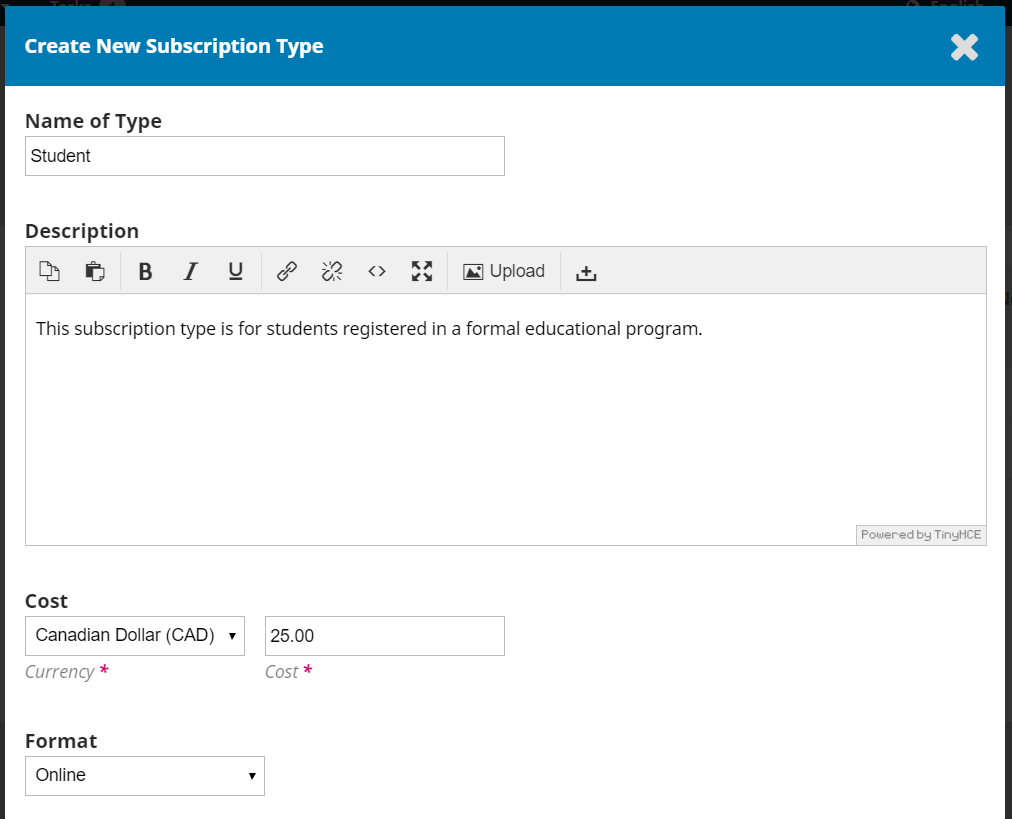
Select Create New Subscription Type to add a new one.
If you haven’t already done so, go to Settings > Distribution > Payments and set the appropriate currency and payment method (e.g., PayPal).
Use this page to set the amounts charged for various types of fees.
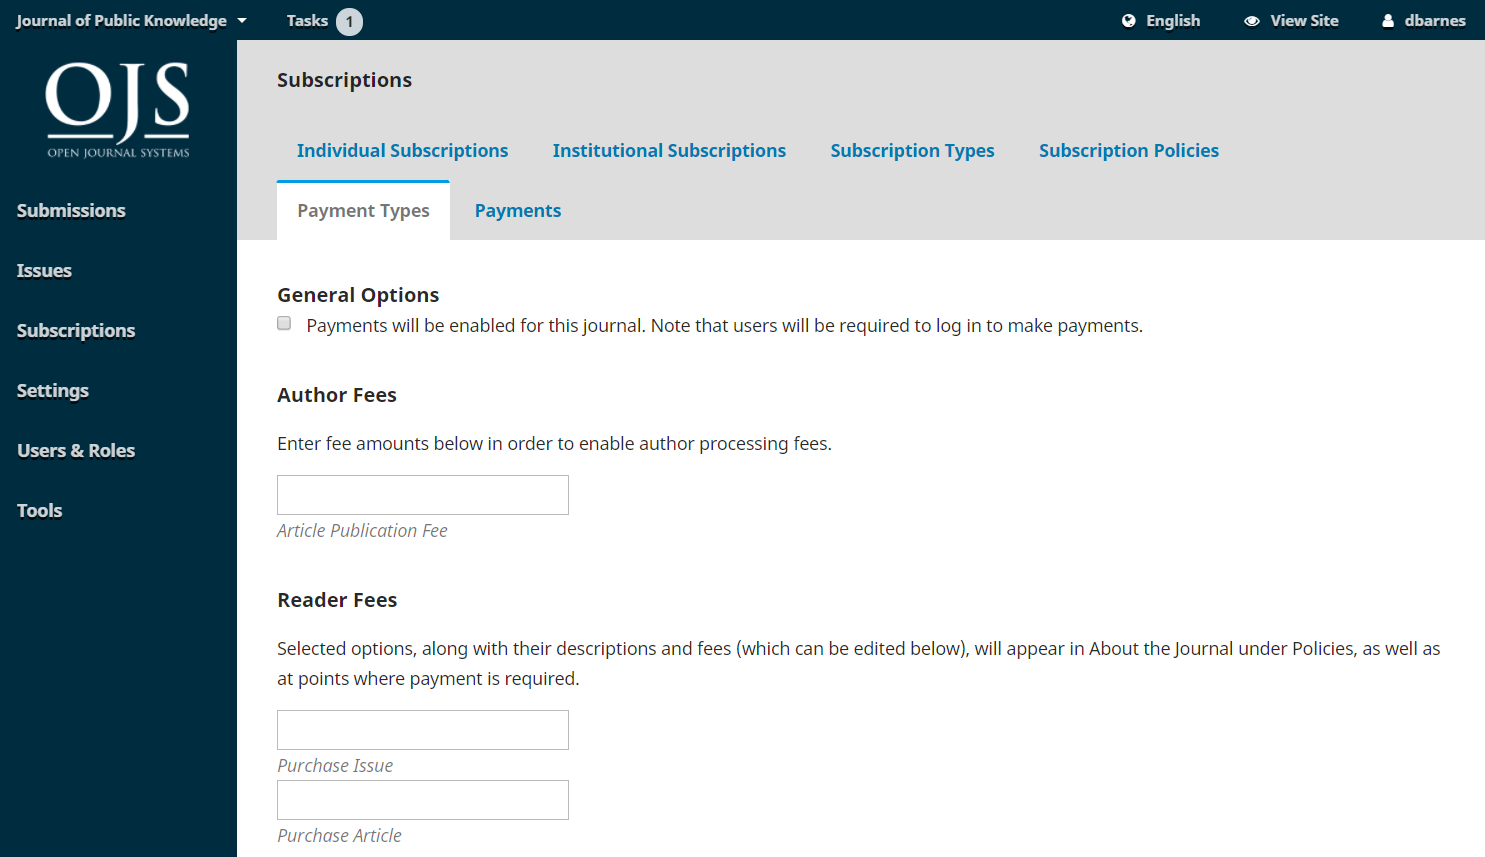
If you enable Author Fees you can request article processing charges after the review process has been completed. When the article is accepted by the editor, the editor will have the option to require payment. This will result in the author receiving a notification in OJS and an email, which will direct them through the payment process.

As various payments are received, they will be listed under this tab.
All types of individual subscriptions will appear here.
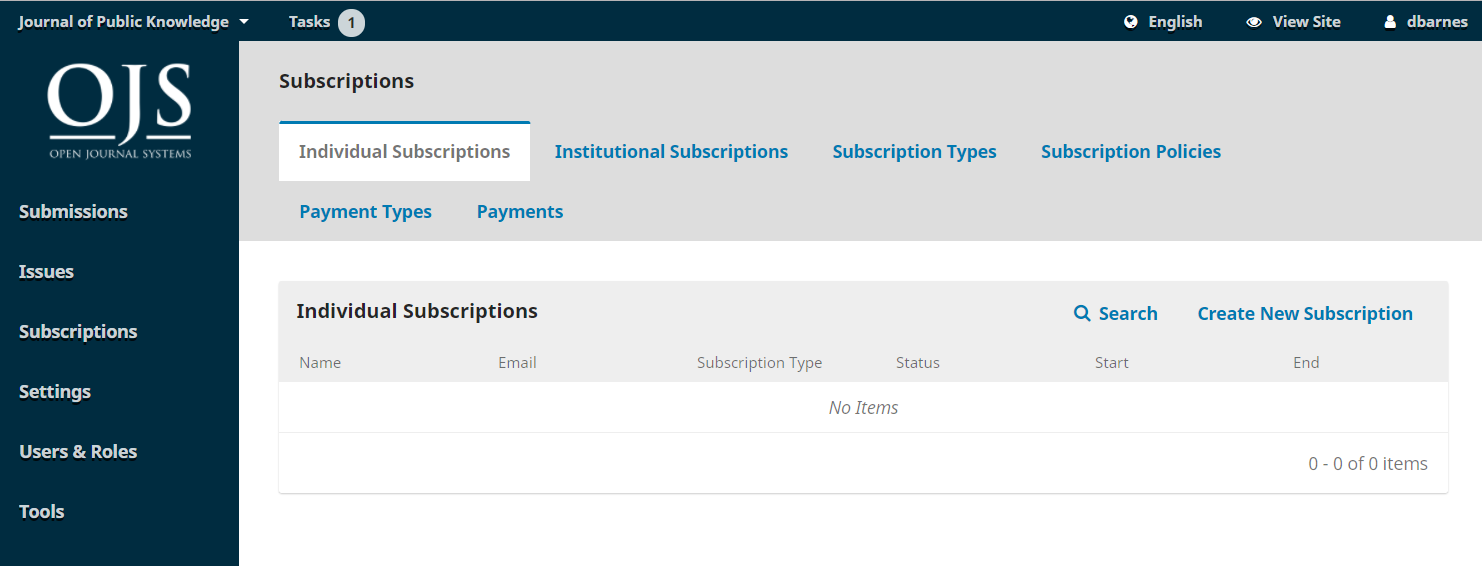
You can create a new individual subscription by using the Create New Subscription link. First, however, you will need to create a new account for that person under Users & Roles (see the User Accounts chapter). Once that is done, you can search for the account here, and apply the different configurations.
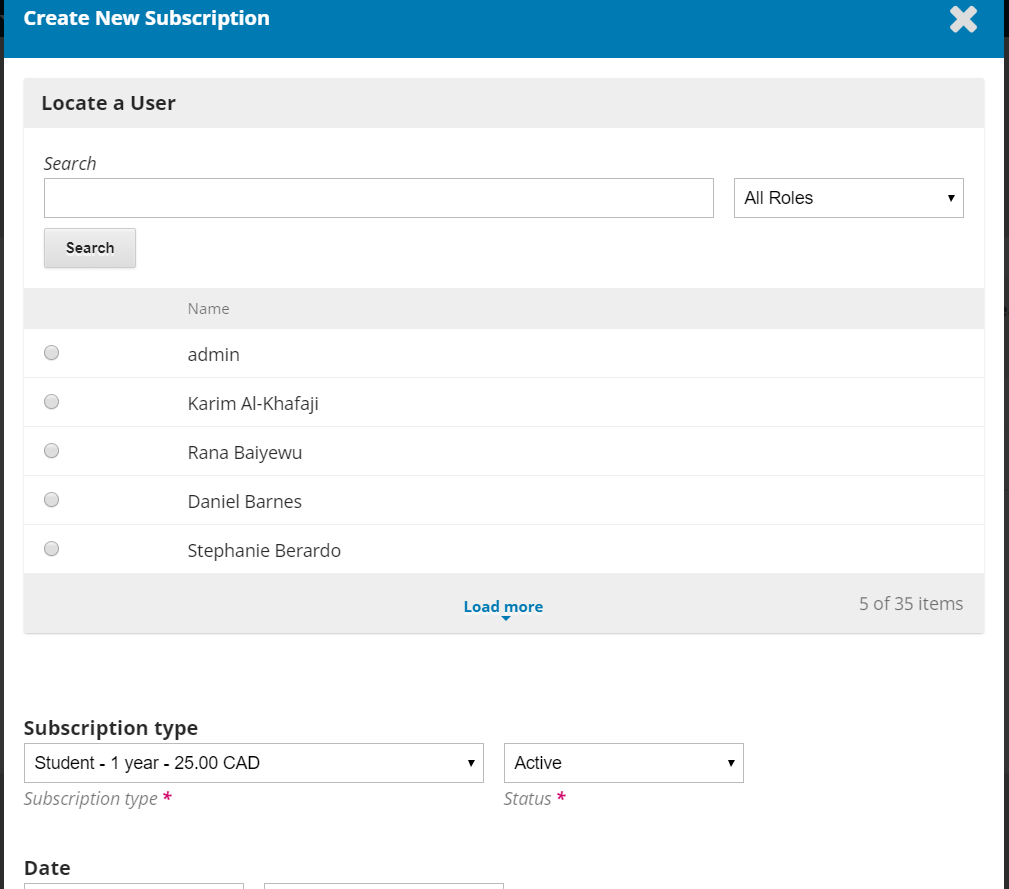
Subscription Type: Select the appropriate type for this new subscriber (e.g., Student) and its status (e.g., Active).
Subscription Types were configured earlier in this chapter.
Date: Set the start and end dates for this subscription.
Membership: If the subscriber is associated with any relevant memberships, add that information here (optional).
Reference Number: If the subscribe is associated with any relevant reference number (such as an invoice number for payment), add that information here (optional).
Notes: If you have any relevant notes to add, record that information here (optional).
All types of institutional subscriptions will appear here.
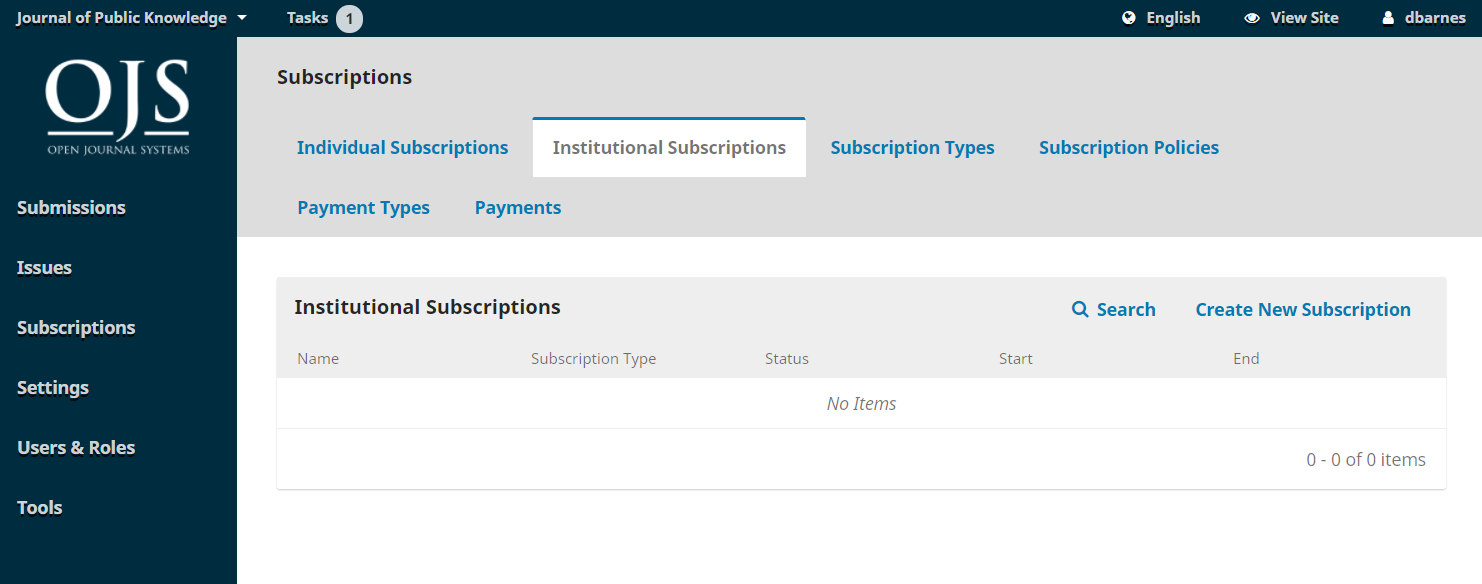
Institutional subscriptions are managed similarly to individual subscriptions, but are used for libraries, research institutes, and other organizes that subscribe to your journal.
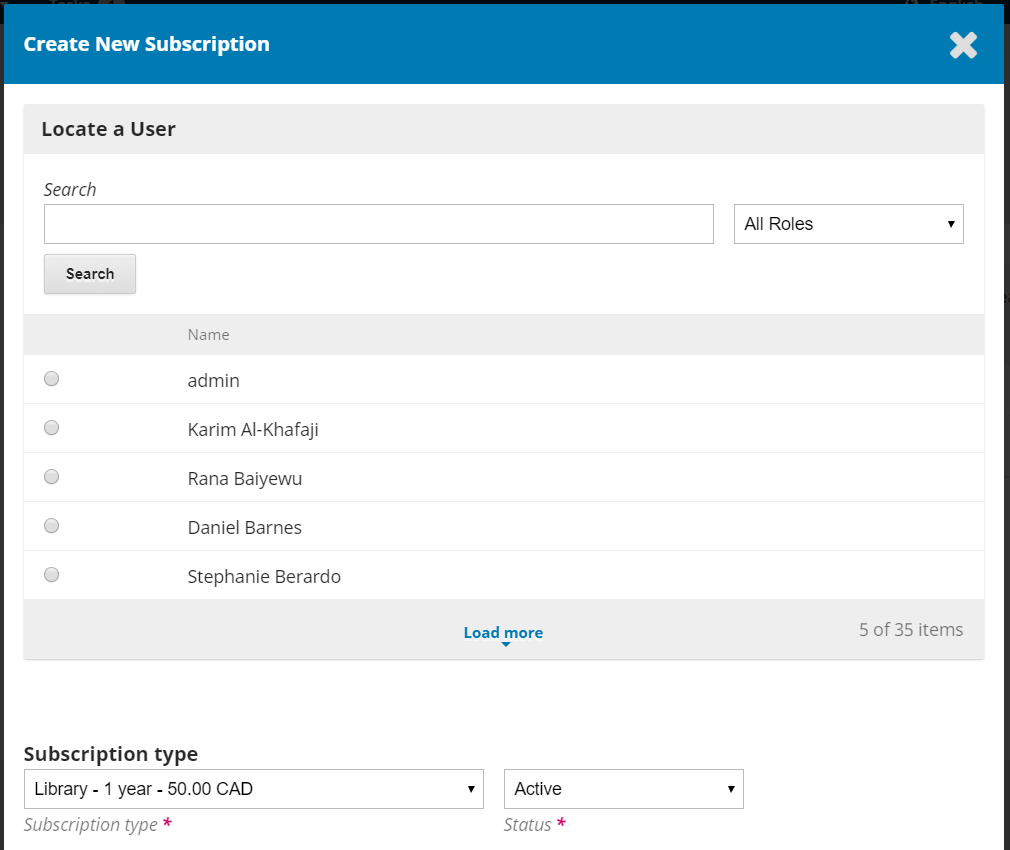
You can create a new individual subscription by using the Create New Subscription link. First, however, you will need to create a new account for the institution’s contact person under Users & Roles (see the User Accounts chapter). Once that is done, you can search for the account here, and apply the different configurations.
When a user is being provided access to a site or its content via a subscription, the information of the subscriber providing access can be displayed in the sidebar. The Subscription Block feature must be selected for display in Website Settings > Appearance > Sidebar Management.