The Tools section can be accessed from the left sidebar menu.
Tools consist of an Import/Export tab, a Report Generator tab (called Statistics in OJS 3.1.1 and earlier), and a Permissions tab.
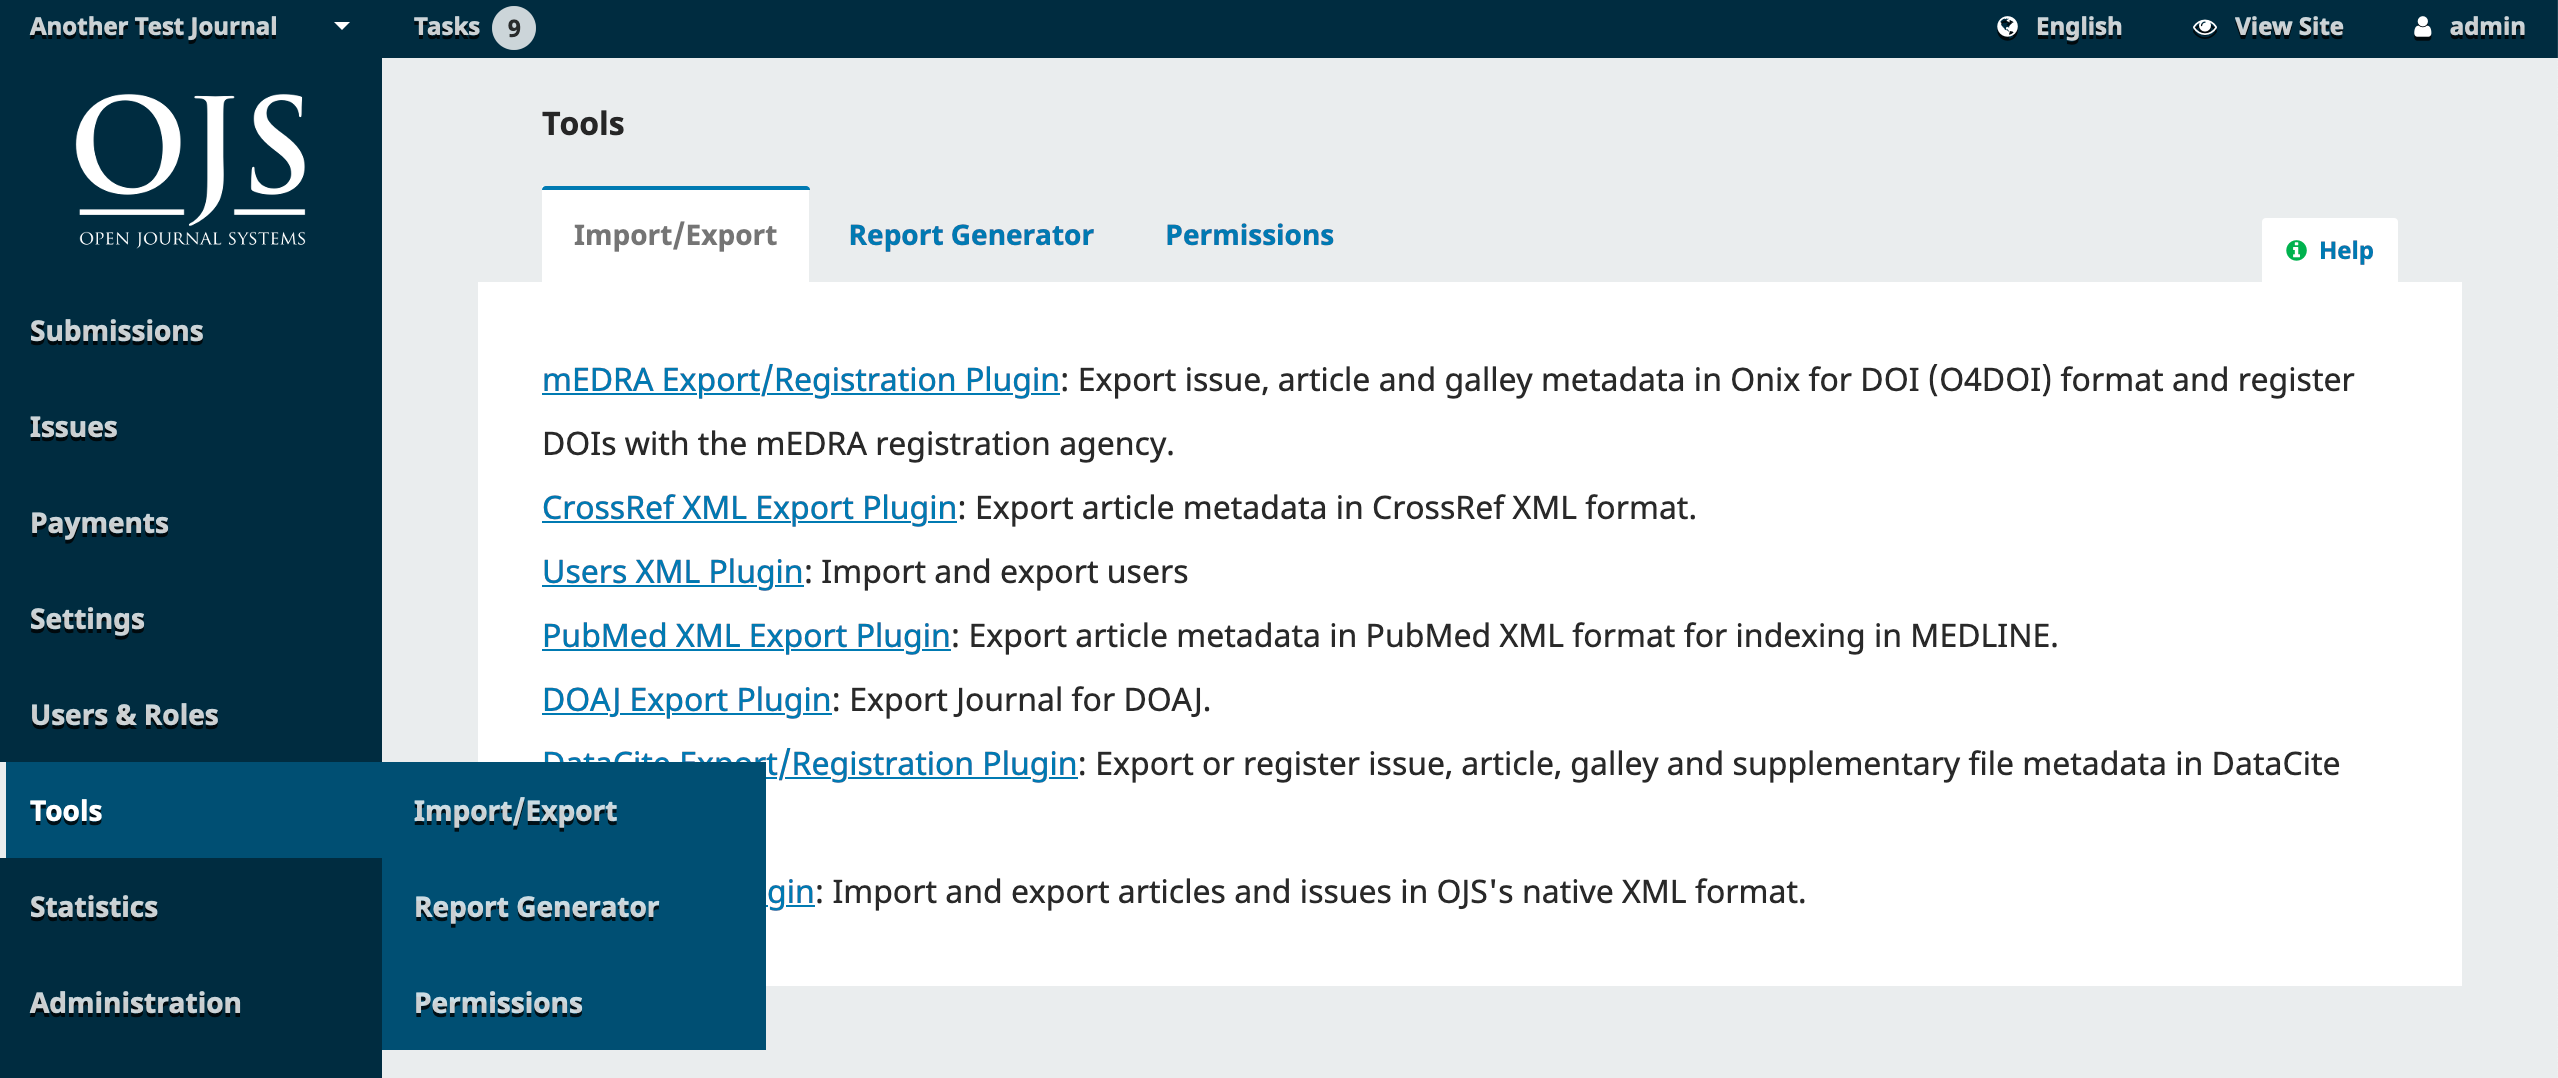
Import/Export #
Import/Export allows you to easily get data out of your OJS journal and get data into it.
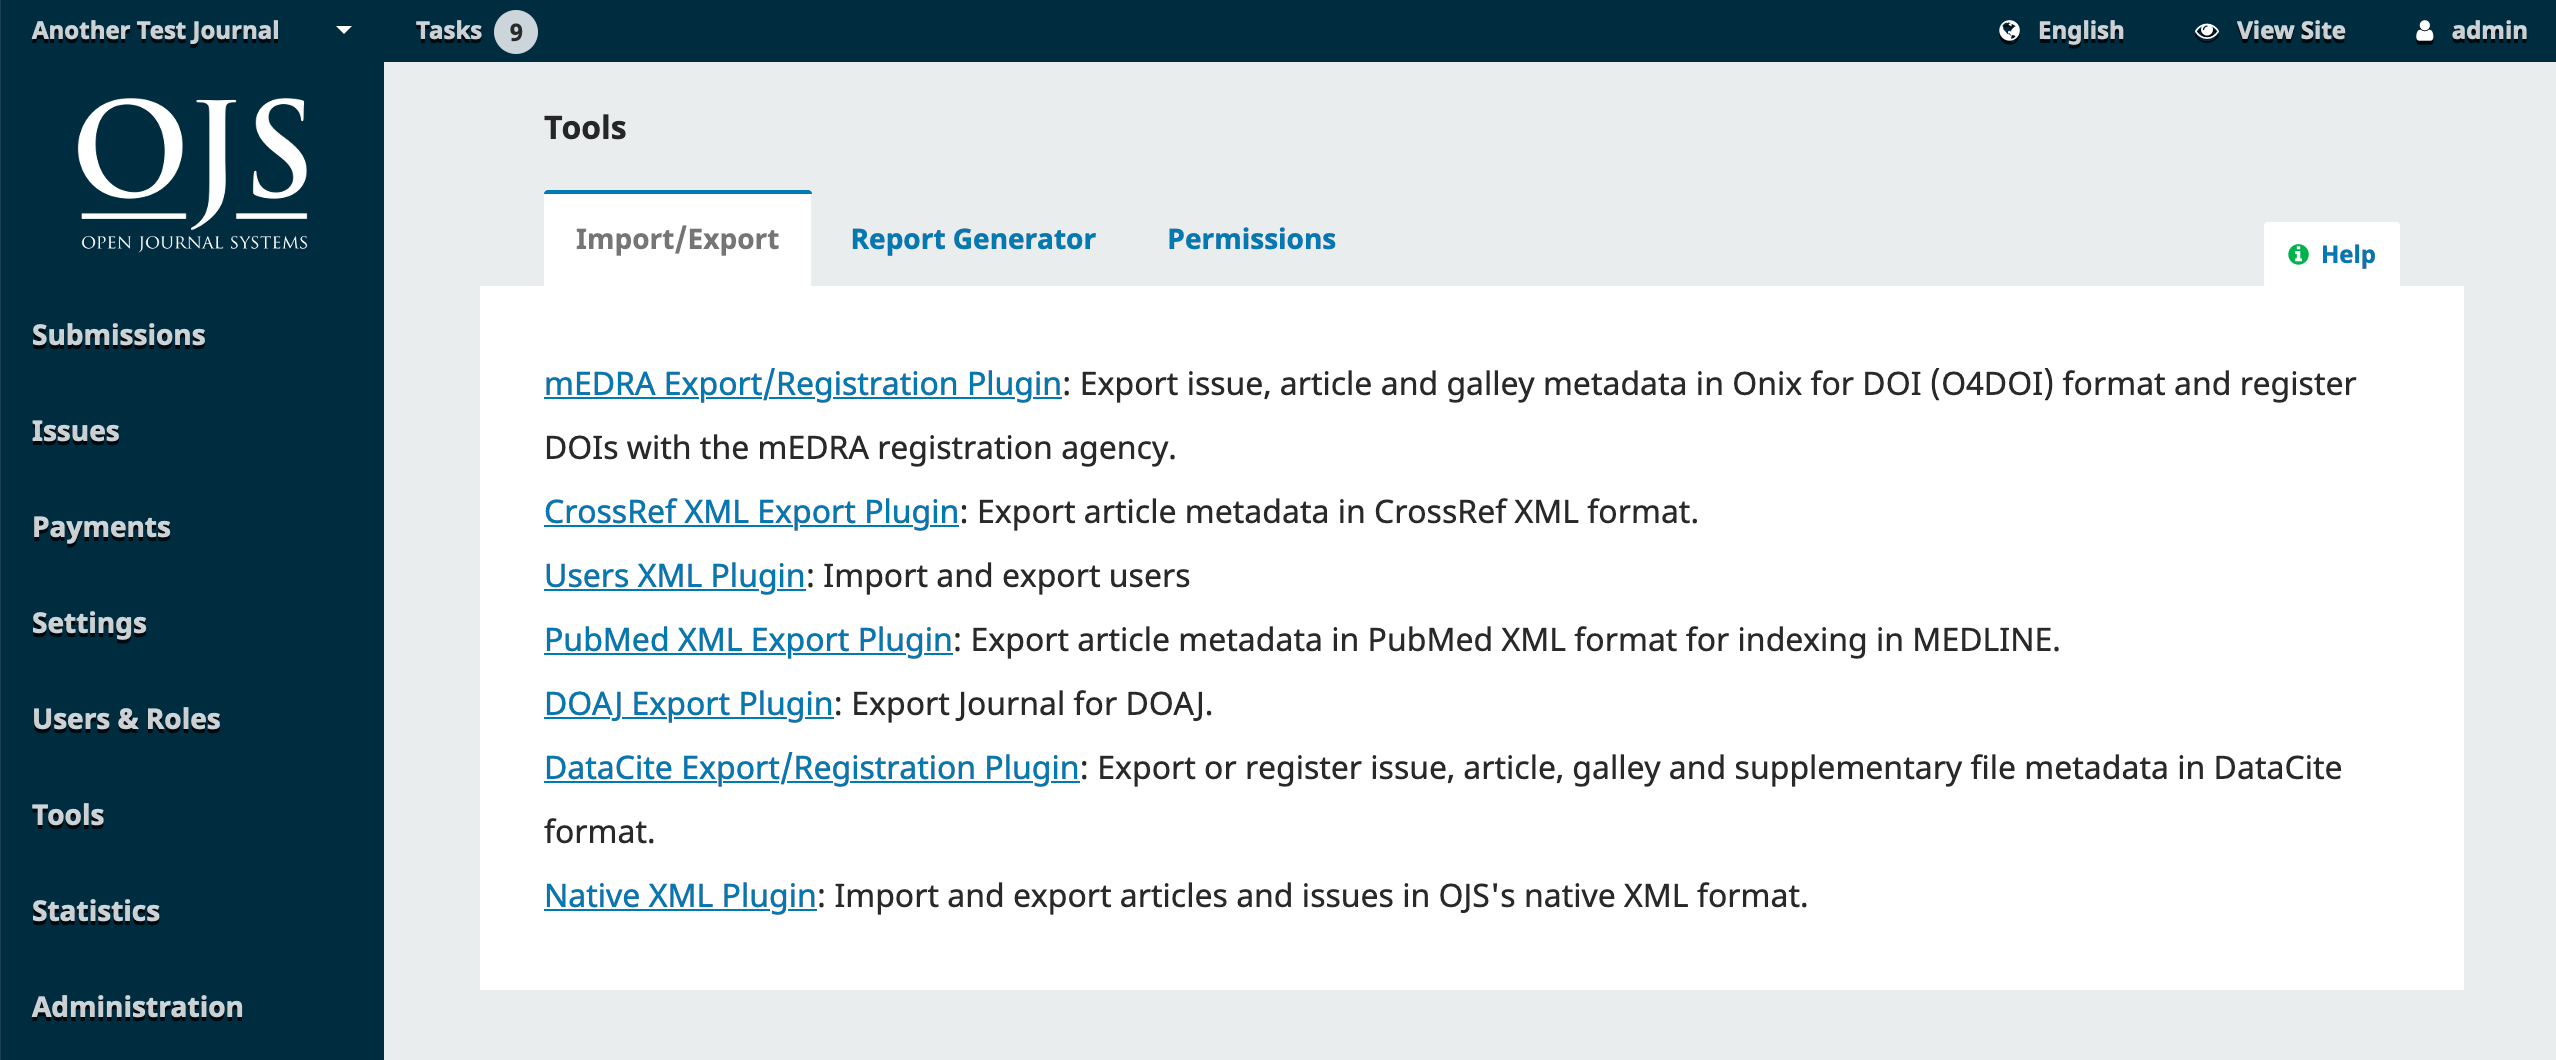
Some of the tools allow you to export to third-party systems, such as PubMed or the DOAJ. Others allow you to import or export user or article data.
For detailed instructions on importing and exporting see the Administrator’s Guide.
For more information on the Crossref XML Export Plugin, see the PKP Crossref Guide.
Quick Submit Plugin #
The Quick Submit Plugin allows you to quickly add complete submissions to an issue. It provides a one-step submission process for editors needing to bypass the traditional submission, review, and editing process.
The Quick Submit Plugin can be used in the following cases:
- Journals who are using OJS to display and publish their content without using the editorial workflow
- Journals that were published using another platform and are migrating to OJS, when a conversion tool for that platform is not available
- Journals that were originally published in print and have since been digitized
To use this plugin, you will need the following:
- To be enrolled as an Editor or Journal Manager
- A set of ready-to-publish files (e.g., PDFs)
- All of the metadata for the files (e.g., author names, titles, abstracts, etc.)
First, ensure that the Quick Submit Plugin has been installed and enabled for your journal. You will need to have the Journal Manager role to enable the plugin and the Administrator role to install the plugin.
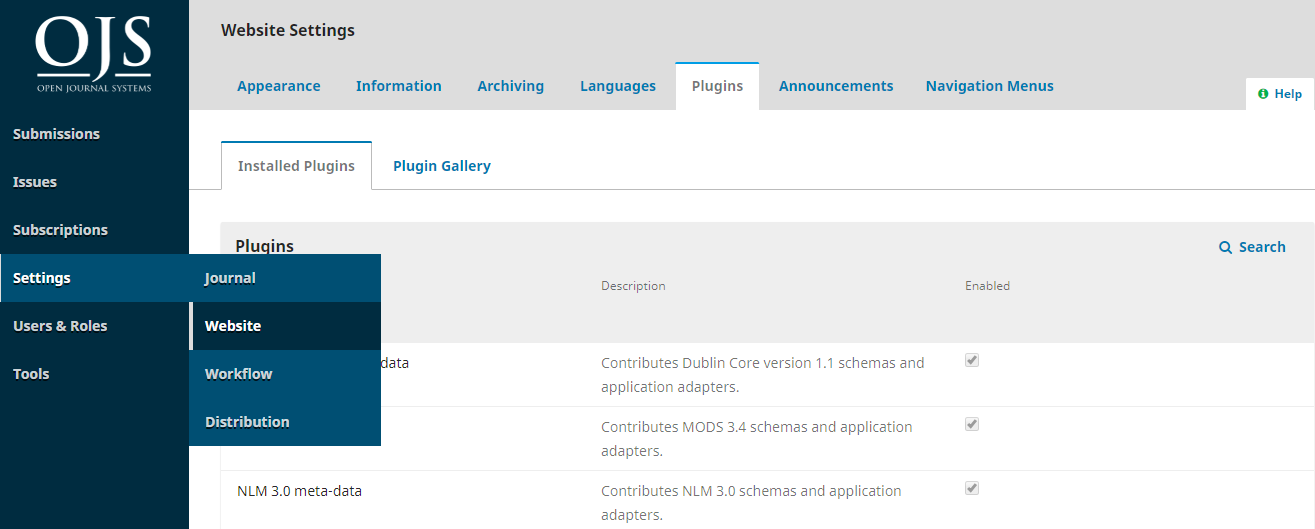
- Go to Settings > Website > Plugins
- Under Installed Plugins, look for the Quick Submit Plugin. If you see it listed, skip to step 8.
- If you do not see the Quick Submit Plugin under Installed Plugins, go to the Plugin Gallery tab.
- Click on Quick Submit. A popup box will open.
- Click on Install. If you do not see the Install button, you will need to ask the Administrator of your site to install the plugin for you.
- A popup box will open and ask “Are you sure you wish to install this plugin?” Click OK and wait a few minutes while the installation completes.
- After the plugin has been installed, go back to the Installed Plugins tab and find the Quick Submit Plugin.
- Check the box to the right of the plugin name and description to enable the plugin.

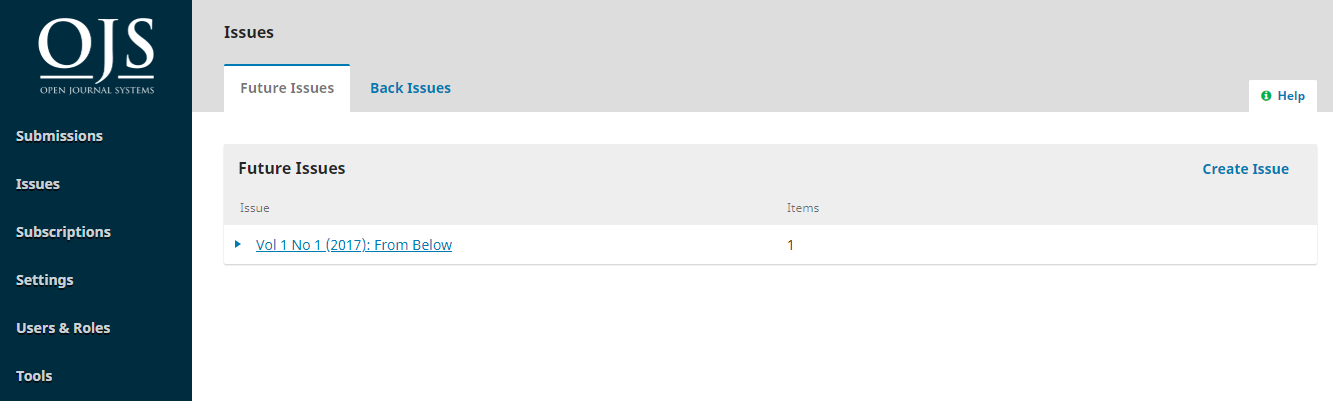
Next, you will need to create the issues (or issue) that will contain the new articles you are importing.
- Go to Issues > Future issues and select Create Issue.
- Enter metadata for the issue
- If the issue is already published you can check off “Published”
- Click Save.
- Do this for all of the issues you are uploading articles for.
Next you can import each article with the Plugin.
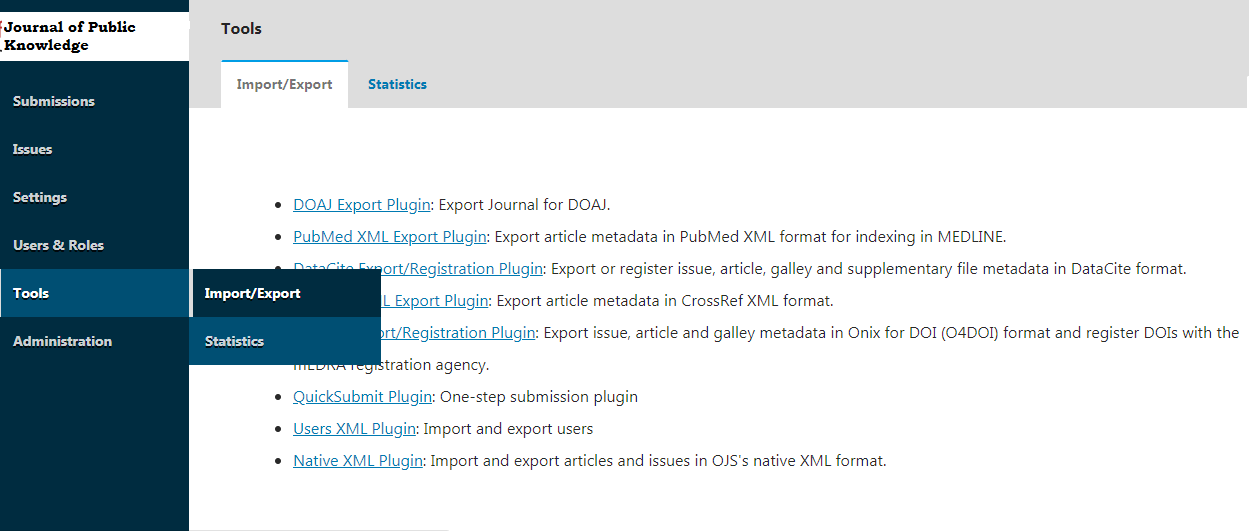
- Go to Tools > Import/Export and select Quick Submit Plugin.
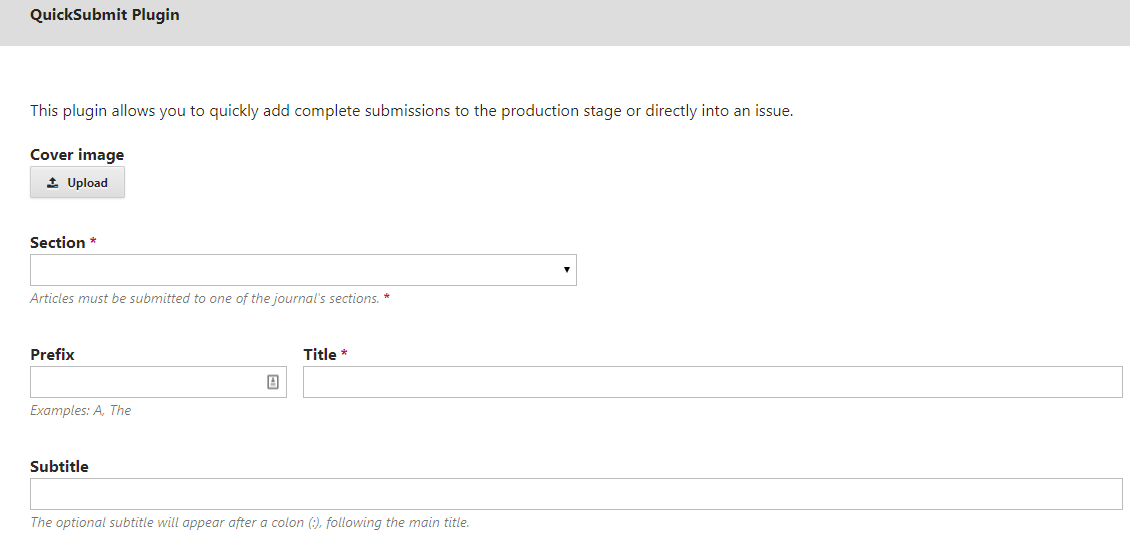
- Upload a cover image if you have one. This field is optional and can be ignored.
- Choose the section of the journal that the article will appear in from the drop-down list in the Section field.
- Enter the metadata for the article in the other fields. If you do not see all of the metadata fields you want, go to Workflow Settings > Submission > Submission Metadata to configure what fields should be included in submissions.
- Under List of Contributors, click Add Contributor to enter the names of authors and other contributors to the article.
- Under Galleys, click Add Galley to upload a PDF file of the article. A popup box will open where you can enter the Galley Label and language of the galley. Once you click Save, another box will open where you can select the Article Component and upload the file.
- At the end of the Quick Submit Plugin form, you can select whether you want the article you are adding to be published immediately or unpublished if you wish to publish it later. If you select Published, you will have to select the issue you would like to publish it in and enter the Date Published. You can also optionally enter page numbers and permissions information.
- When you have finished entering all data for the article, click Save.
DOIs are not added with the QuickSubmit Plugin. Instead, you have to add them separately.
To add existing DOIs to articles that have already been assigned:
- Enable and configure the DOI plugin so that you need to “Enter an individual DOI suffix for each published item.”
- After you finish uploading the article with the QuickSubmit plugin, click “Go to Submission” to go to the article’s submission record. Or go to the article’s submission record through the Submissions dashboard.
- Open Metadata on the top right and go to the Identifiers tab
- Enter the DOI suffix for the article.
- Click Save and then Save again to assign the DOI
- If you normally assign DOIs using a default pattern, re-configure the DOI plugin for this after you have finished adding DOIs to articles you uploaded with the QuickSubmit plugin
To assign new DOIs to articles:
- Ensure that the DOI plugin is enabled and configured
- After you finish uploading the article with the QuickSubmit plugin, click “Go to Submission” to go to the article’s submission record. Or go to the article’s submission record through the Submissions dashboard.
- Open Metadata on the top right and go to the Identifiers tab. You should see a preview of the DOI that will be assigned and a checked box next to “Assign the DOI to this article.”
- Click Save and the DOI will be assigned.
Report Generator #
The Report Generator page provides access to a variety of reports from your journal.
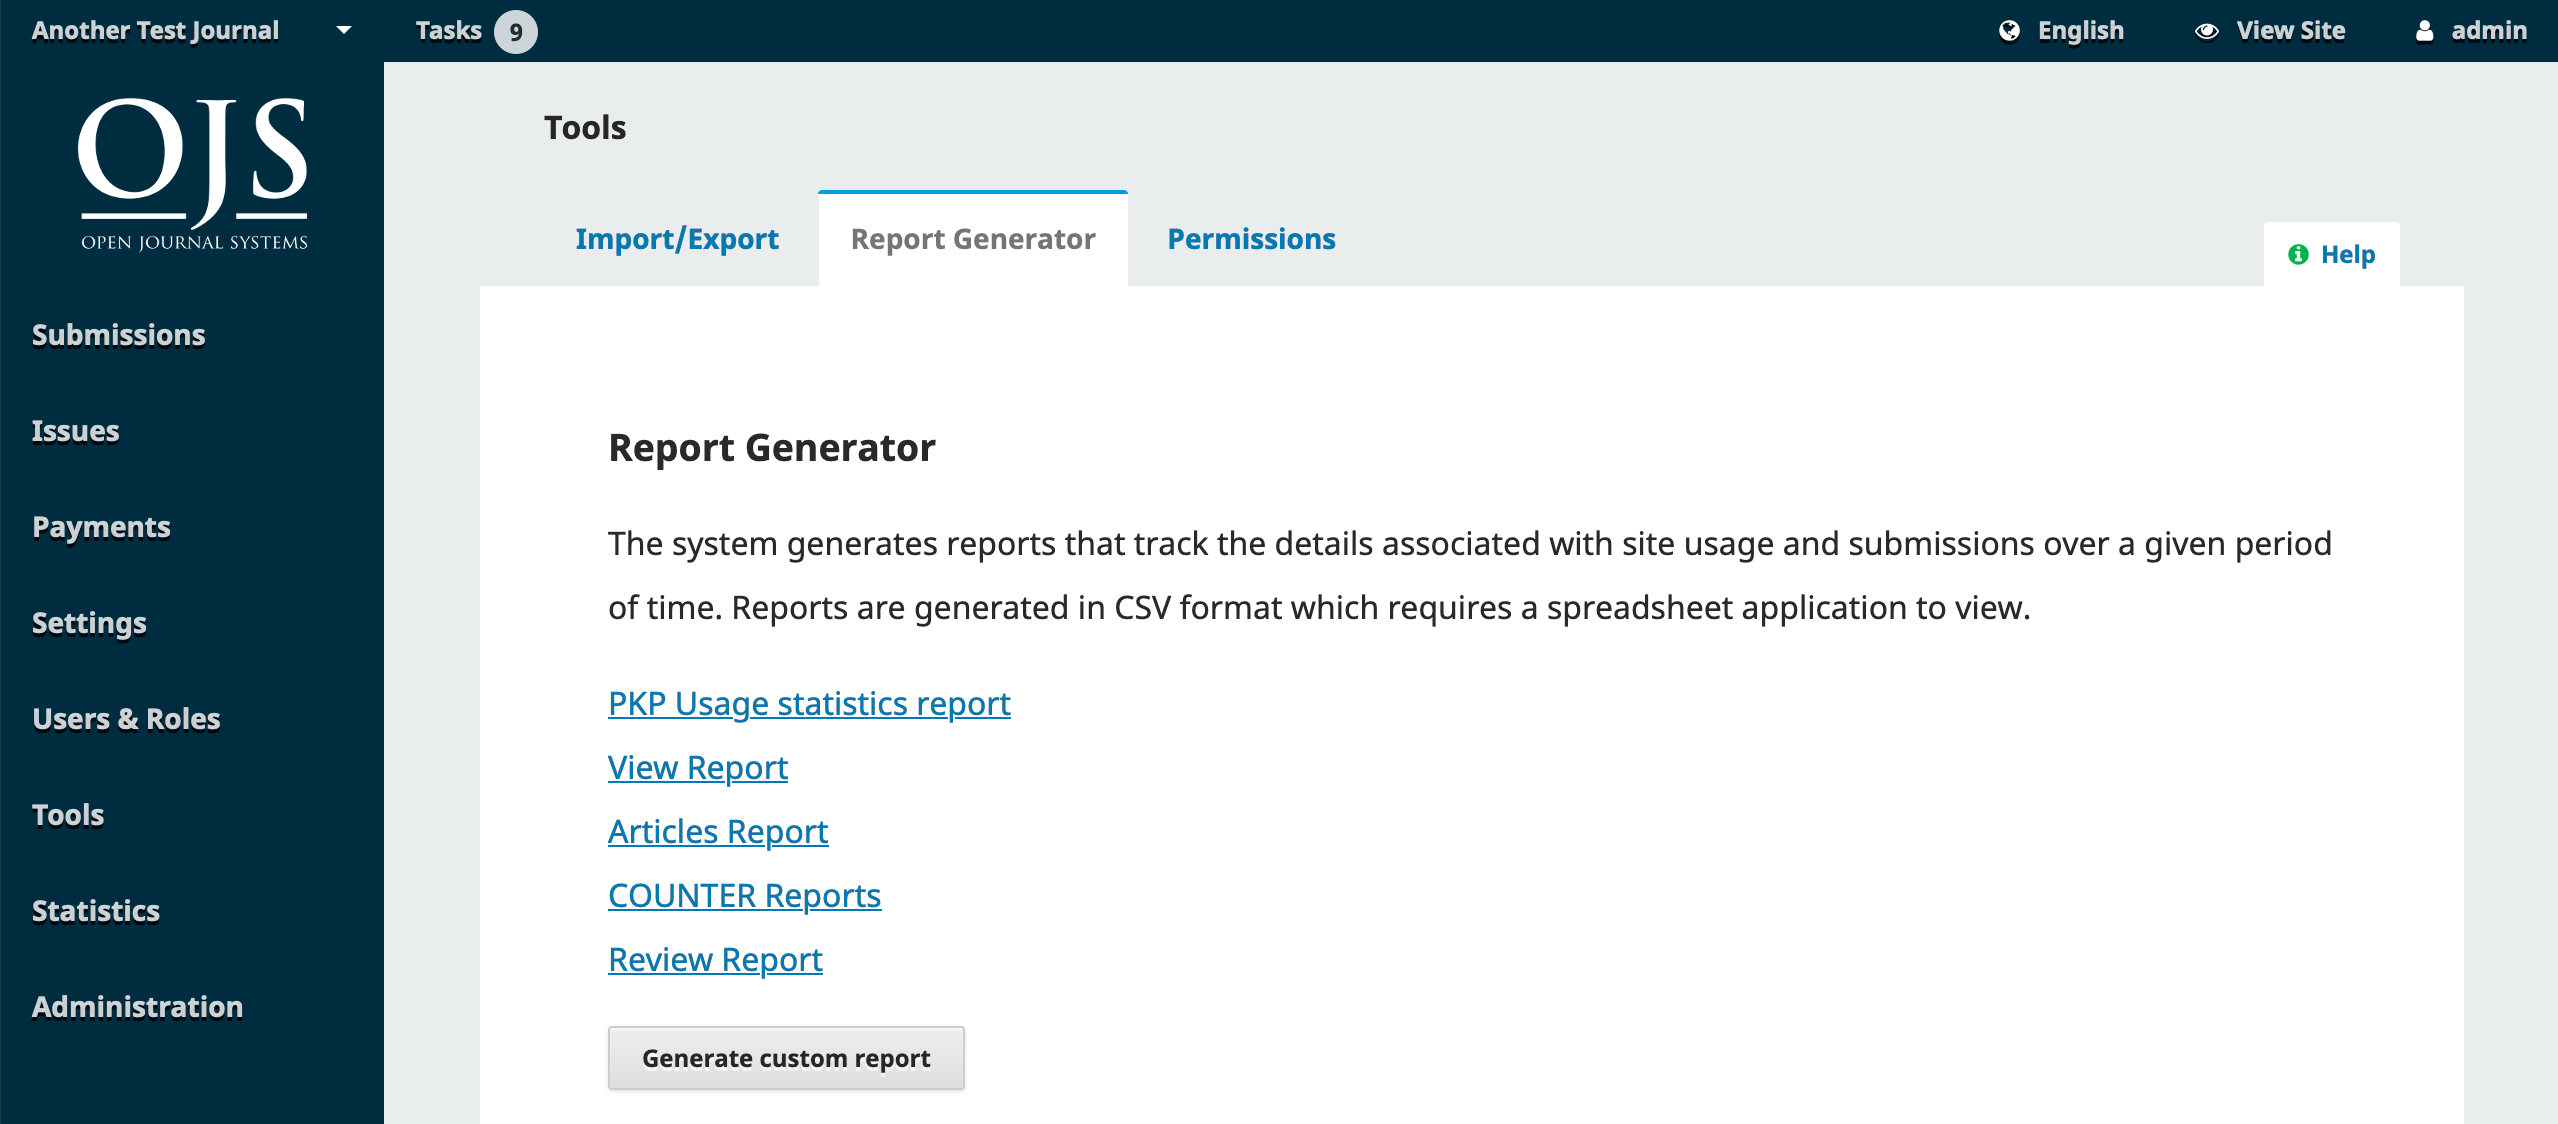
The system generates reports that track the details associated with site usage and submissions over a given period of time. Reports are generated in CSV format which requires a spreadsheet application to view.
- PKP Usage Statistics Report: Provides basic usage statistics for your journal.
- View Report: Provides a report on galley and abstract views by readers (i.e., how many times a PDF for an article has been viewed).
- Articles Report: Provides a spreadsheet of all published articles.
- COUNTER Reports: Provides COUNTER data.
- Review Report: Provides a spreadsheet of all review activity.
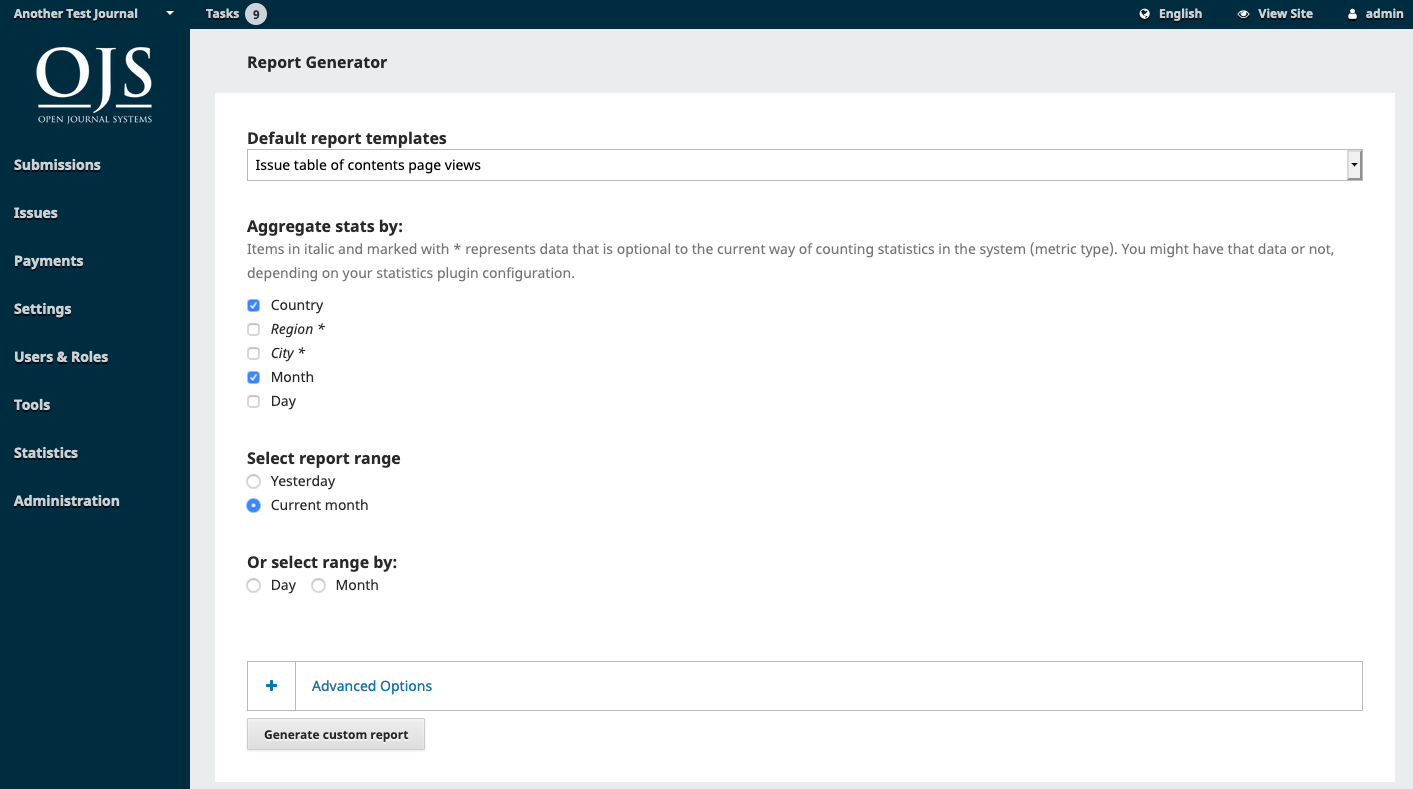
Generate Custom Report #
Use this feature to build your own reports.
More information on how to generate and manage statistics in OJS is provided in the Administrator’s Guide.
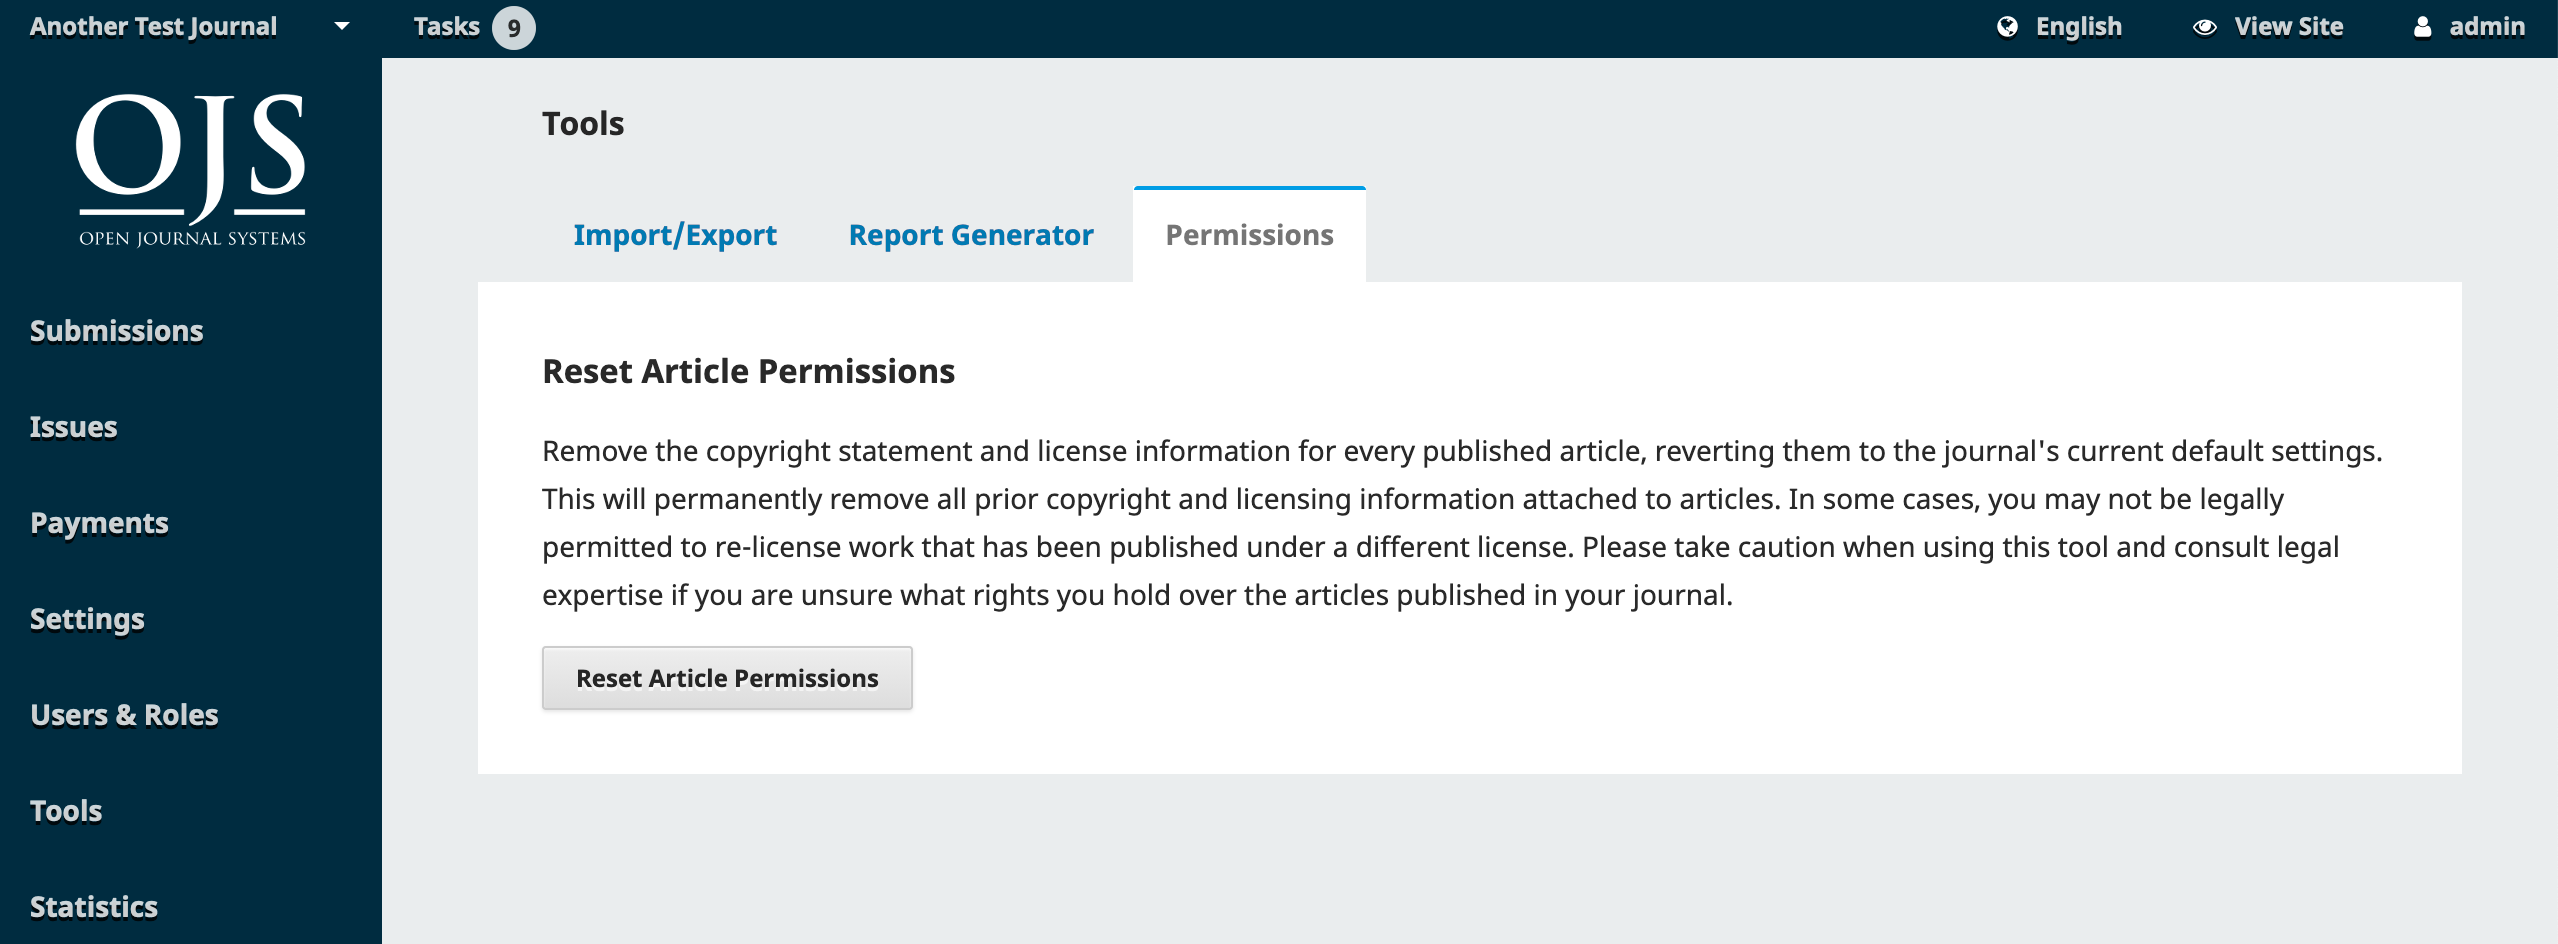
Permissions #
The Reset Article Permissions tool allows you to reset the copyright statement and license information on all published articles, and will revert it to your journal’s current default settings. Take caution when using this tool and consult legal expertise if you are unsure what rights you hold over the articles published in your journal.